My mom joked once she didn't know how we were going to survive the house (I know many couples don't survive major renovations) but we really had made it this far with very little argument or strife, but this was the project that I thought was going to be the make-or-break for us. I thought the reclaimed and not-quite-evenly milled floors were going to be an absolute nightmare to lay and finish, but they really were a breeze! Laying them only took us two weeks, working for two weekends and a few hours each evenings during the week.
First we rented a drum sander just to smooth out the existing floors and give us a nice even subfloor.

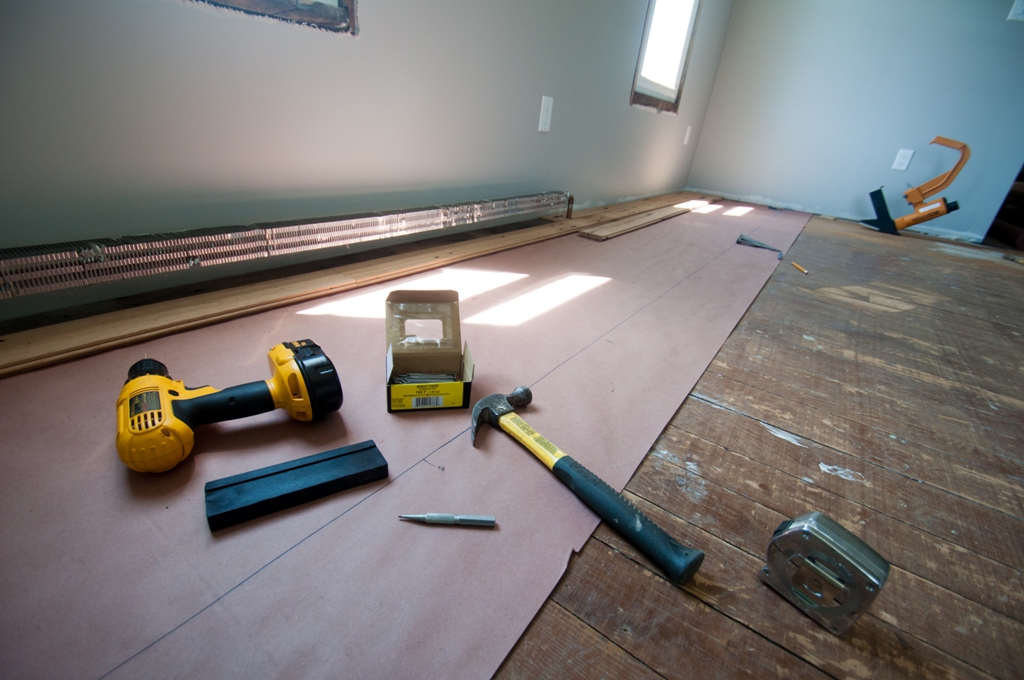
Then we could start the floors! We set up the circular saw on the deck, and I was in charge of measuring and cutting the boards, while Ryan was in charge of nailing.


It took us a while to get into a groove, but we still made decent progress for the first day, about 13 rows down on a Saturday.

Sunday we made more good progress, but were definitely glad that we decided to buy a floor nailer rather than rent one, because this was clearly not going to be a weekend project.


Over the week we kept on moving...
Tuesday:

Thursday:

Friday we finally finished the living room, and were only working in the kitchen & dining room, and Ryan was whooped.

By the 2nd Monday, we were 3/4 of the way done, and only had the laundry room to go!


We slowly worked away, and by Saturday were as done as we could be without taking the laundry out, which we were't quite ready to do without just yet. Chuckie's hidey-hole under the stairs was even done!


After the floors were laid, then came the fun part: filling all of the holes. The worm holes are tiny and didn't need filled, but we knew we were going to need to fill all of the original nail holes, otherwise we were leaving traps for dirt, dust, and dog hair, not to mention holes for our very expensive finish to seep through. THIS was where the frustrations began. My parents had built themselves a dining table out of the same wood, and they had purchased Elmer's ebony wood filler from Lowe's. However, when we tried to find the same filler, it was shown on the Lowe's website (as well as Home Depot's) but was not stocked in stores, and not available for purchase online. Not very helpful!
The only reasonably-priced ebony filler I could find on all of the internet was this stuff, made in Australia, and stocked by a company based in North Carolina.

We originally bought this with a squeeze bottle, thinking it would be a suitable applicator for getting the filler in the holes. No way. I filled the bottle and didn't even get a dozen holes filled before I realized this was not going to work, it was way too hard to squeeze the filler out, so we needed another approach. I happened to think how much easier it would be to use a caulking gun, rather than squeezing the tubes by hand, and lo and behold I actually found refillable caulk tubes on Amazon! While it was still difficult, I could make some decent progress working a half hour at a time before my hand got too tired.

We bought a quart of the filler though, thinking it would be more than enough to do the whole floor. NOPE. We ran out before we finished the kitchen & dining room. And since shipping wasn't free, we played it safe and ordered two more quarts.

Of course we barely needed to open the 3rd one, as has been the case so far with this house. We always end up JUST needing the extra that we buy. Figures, huh?
We hit a bit of a delay at this point. Memorial Day weekend came and we went camping, and the following month my parents came home from Florida to visit, and then we went back to Florida for a visit with them, so the floors were stagnant for about a month, but we were back at it after vacation! We hauled the laundry outside, and finished the floors and hole filling and got ready to lay the finish. We took a Friday off work and dedicated the weekend to getting the floors finished! We rented a plate sander to knock off any rough spots in the boards and also smooth out the wood filler. We had the sander rented and returned within 4 hours, but unfortunately there was no discount for early returns (I asked).

Next step was dusting with a damp tack cloth:

Then the sealer:

We did a lot of research on which floor finish we wanted to use. We both loved the natural wood and wanted to keep them as close to original as possible, and we ended up settling on Bona Naturale commercial matte finish with Bonaseal sealer. The finish was advertised as "as close to an untreated look and feel as possible while still providing your floor with a durable surface." The sealer was supposed to be non-darkening, but it did darken the wood by a shade or two (inevitable, I'm sure, with any finish). I won't lie, at this point I HATED the finish. I was pretty depressed about spending so much time and money on these beautiful floors, only to have them turn out completely different than I had envisioned.

However, Saturday morning we got up and kept moving and laid the first coat of the finish. We purchased the roller that was sold by the Bona retailer, which had plastic guides on the sides and guaranteed an even coat. This product is meant to be installed by professionals, so it was a little nerve wracking to be tackling this ourselves with no other floor finishing experience.

We had purchase 4 gallons of the Naturale finish, per the coverage guidelines. But we actually only needed 1 1/4 gallons for the first coat. But since this is a 2-part system where you add in a hardener, you only have 4 hours to use the product before it goes bad. Luckily, the product only had to dry for 3 hours between coats, so at exactly the 3-hour mark we were back in for the 2nd coat so we weren't wasting the product. We ended up with a whole gallon un-used, which I was able to sell on eBay and recoup at least 75% of what we spent on it, so not a total waste!
In the end, we are THRILLED with the floors. The ultra-matte finish is GORGEOUS. I couldn't have imagined any other finish on these floors, it really lets the wood shine. A bonus is that it's supposedly super easy to sand and re-finish if you have to repair any spots. Bona even sells a Naturale repair kit for that purpose!


The photos really don't do the floors or the finish justice, they're just SO GOOD. We're in love...


