Whole House / General (15% complete)

Install new entry door hardwareRemove all carpeting to reveal original wood floorsAddress water issues- Paint all exterior doors
- Run all new electrical to 2nd floor
- Run new zone off boiler and install baseboard heat in 2nd floor
- Replace all exterior doors with ones better fitting our design aesthetic
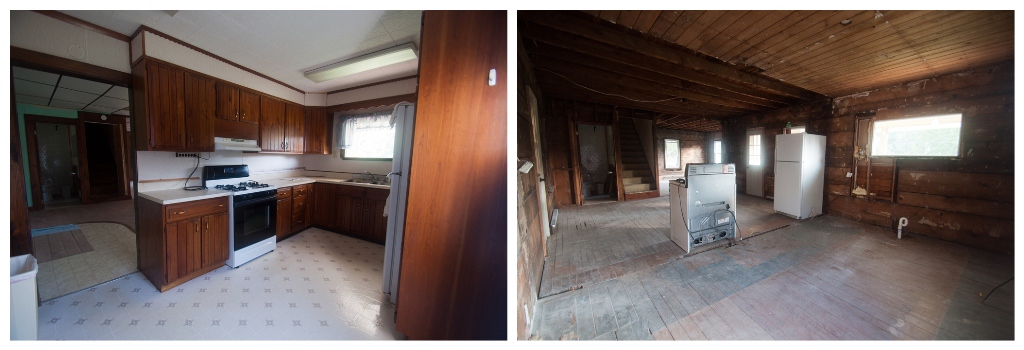
Kitchen (5% complete)
Run new gas line for stoveRun new electricalInsulate exterior wallsInstall new operable window above kitchen sink- Run electrical & switch for ceiling lights
- DRYWALL!
- Buy new cabinets as needed for new layout
- Build all new cabinet doors
- Paint all cabinets & new doors
- Hang & install cabinets
- Install all new hinges & pulls on cabinets
- Purchase & install apron-front sink
- DIY concrete counter tops
- Install herringbone carrara marble backsplash
- Install recessed lights
- Install pendants above sink & bar
- Purchase & install dishwasher in black
- Replace refrigerator with bottom-freezer style in black
- Replace stove with 5-burner style in black
- Purchase, paint & install full height cabinets around refrigerator in kitchen (possibly phase 2)
Dining Room (5% complete)
Run new electricalInsulate exterior wallsReplace door to garage with full-lite doorReplace metal screen door with wooden screen door- Repair sagging floor joists
- Remove window to garage and build built-in storage for coats & miscellaneous (framed out until drywall is complete)
- Run electrical & switch for ceiling lights
- Run plumbing to 2nd floor for future bathroom
- DRYWALL!
- Replace 2-panel 9-lite front door with 1-panel 1-lite door
- Fabricate 5'-0" round pedestal-base dining table from steel (base) and black walnut (top)
- Make bar stools out of flea-market tractor seats
- Make coat racks out of old door knobs (for hanging inside built-in)
- Make ball jar chandelier for over dining table
- Indoor/outdoor area rug or FLOR tiles
Living Room (5% complete)
Open up wall between living room & stairsRun new electricalInsulate exterior walls- Run electrical & switch for ceiling lights
- Run electrical & data hookups for TV (run in wall to cabinet below)
- Install new post at bottom of stairs to support new beam
- Install new beam between original house & addition to carry the load of the bedroom floor joists
- DRYWALL!
- Install ceiling fan w/ light
- Indoor/outdoor area rug
- Console for DVD & video game storage below TV
- Build plumbing pipe shelving unit (similar here, here, here, here, here & here)
Office/Laundry (10% complete)
Run new gas line for dryerRun new water lines & drain for washer & dryerInstall dryer vent to outsidePurchase energy efficient front-load washer & dryerFrame out new trap door for basement accessBuild new wall in laundry roomRun new outlet for washer & dryer- Insulate exterior walls
- Install new window on back wall for view of back yard
- Run electrical & switch for ceiling lights
- Paint sliding doors
- Remove sliding door hardware & refinish in oil rubbed bronze
- DRYWALL!
- Install ceiling fixture for general lighting
- Fabricate faux cabinet to conceal washer & dryer
- Indoor/outdoor area rug
- Buy or build office / sewing desks & shelving
Bathroom (20% complete)
Prime & paint until we can eventually gut & redoRemove sliding doors from showerInstall curved shower rodFrost window for privacyPrime & paint walls & ceilingPaint cabinets- Remove cracked spray-on frosting & install frosted film on window for privacy
- Remove existing bathroom door & replace with right-hand swing door for better traffic flow
- Remove wall between bathroom & office/laundry
- Completely redo the master bath down the line for Phase 2 (Relocate all plumbing, insulate exterior walls, purchase enclosed claw-foot style tub or fabricate new base for a reclaimed tub, new vanity)
Stairs (5% complete)
- Remove unnecessary bi-fold doors at bottom of stairs
- Remove "closet" at top of stairs
Have glass cut for this frame, which I previously painted red in for a special piece of artwork- Install new stair treads
- Take wall between stairs and large bedroom down to half height
- Remove sloped ceiling and closet in small bedroom for vaulted ceiling in stairs
- Order & install carpet runner on stairs (Flor Lanyard)
- Install chandelier light
- Hang artwork
Small Bedroom (5% complete)
Prime & paint until we can eventually gut & redoLay carpet from downstairs for temporary use- Run electrical & switch for ceiling lights
- Full gut & remodel of 2nd floor
Large Bedroom (5% complete)
Prime & paint until we can eventually gut & redoLay carpet from downstairs for temporary use- Install access ladder to attic
- Reupholster Craigslist chair
- Run electrical & switch for ceiling lights
- Full gut & remodel of 2nd floor
Attic Space (5% complete)
Remove old chimney & patch roof- Add collar ties in attic
- Install gable & ridge vents in roof
- Raise roof to meet peak of original house
- Full gut & remodel of 2nd floor
- Finish space above kitchen & dining room as master bedroom
- Install "timber" beams in new master bedroom
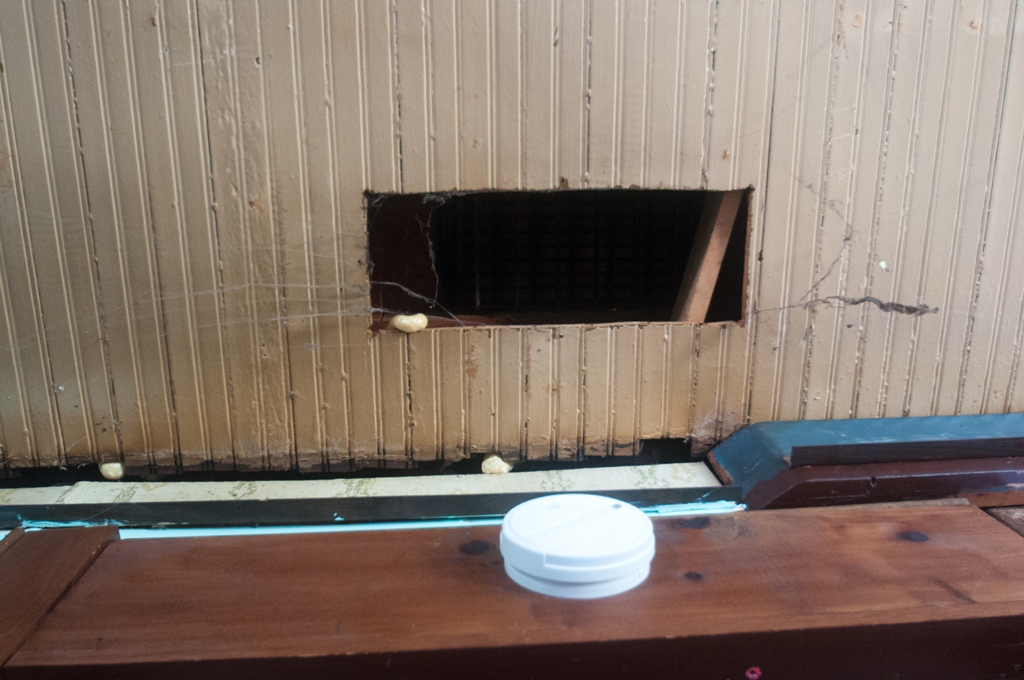
Basement (5% complete)
Run new gas line for boilerRun new outlet for water heater- Foam insulation above foundation
- Repair sagging floor joists in crawlspace
- Repair damaged floor joists in basement
- Fix electrical box issues (2 new breakers, separate doubled connections)
- Replace electrical box in basement, move basement box to garage, move garage box to barn
Deck (5% complete)
Run new gas line for grill- Remove awning that is improperly attached to house
- Strip and re-stain deck
- Build pergola w/ hop vines to add shade and privacy
- Add sconces flanking sliding doors (50% complete - wiring has been run to each location)
Garage (0% complete)
- Replace 2-panel 9-lite doors with 1-panel 1-lite doors
- Tear down existing garage & build new 3-stall garage w/ new entry/mud room between garage & house
Front Porch (0% complete)
- Replace existing stairs
- Replace existing railings with something more suited to the style of the house & to our taste
- Repair cracks & leaks in foundation to crawlspace
Yard (20% complete)
Remove rhododendron bushesTear down shed- Remove shed foundation
- Move fire pit farther from tree
Barn (0% complete)
- Run electrical service to barn


.jpg)
.jpg)
